Sunday, July 9, 2017

Don't Throw It Out - It's Fixable!

This isn't so much a refashion as it is a lesson in fixing something that is "ruined" before you throw it out and buy new. 

I bought this dress (new) a couple of years ago. Maybe it was $20.00 and I love it. I usually wear it with a colorful belt. Sadly, the side seam ripped in a way that wasn't easy to fix. 


I tried to fix this with iron-on seam tape. You can see it here. It didn't work.
Shredded seam. 
 But - I did have this fantastic fabric in my collection. The color match was perfect. I would use it to create a block at the bottom of the dress serving 2 purposes - cover the ripped the seam AND add a about an inch of length, which I felt the dress needed when wearing to work.


I don't think there is any right way to do this. It's pretty straight forward.  You could just sew it on anyway you know how. I decided to be more precise for a change and actually measured it, folded it so it would have a bit more weight and look nicer.

Precision. It's a nice change for me. 

 With my strip of fabric measured, I ironed it so it would be crisp and lay flat when I sewed it.


I pinned it in place and sewed it all around.

And it turned out great. The only bummer? I can't wear a colorful belt with it any longer. I wear it without a belt and it's fine.


Sunday, January 15, 2017

Why I buy secondhand clothes

When I started this blog, it was to support my mission of not buying any new clothing for a year (where "new" meant new to me - new with tags previously owned were okay.) And I did it. I may or may not have saved money, but I suspect I did. I stopped buying things based on "So cute! I need this," and put more thought into what I actually needed. And I definitely improved my sewing skills.

Then I pretty much fell back into buying new. I mostly stuck to discount stores -- TJMax, Marshall's, etc, but very much new. I would still hit the occasional thrift store, but it was no longer a priority.

Then I cleaned out my closet in December and discovered 4 pairs of black pants. They all fit differently. I accumulated them over the years in search of the perfect fit -- and never found it. I spent some time tailoring two of them and will likely donate the other two to Dress for Success.

So this year, I'm back to used/previously owned only. My focus will be less on refashioning and more on doing more with less. I have become a huge fan of online consignment shopping -- specifically ThredUp.com. There is another one I recently discovered but haven't tried yet called Swap.com. These sites make buying previously owned easy (almost too easy if you're prone to over-shopping.) And they also allow you to consign your own gently used items which I might try soon. (ThredUp also has a charitable arm of their business, you can read more about that on their site.)

You can search all the reason why buying secondhand clothing is beneficial -- you'll pay less for quality items, it's better for the environment, and if you shop at Goodwill or other charitable thrift stores you're contributing to their overall cause, and if you shop at your local thrift stores, you're supporting local businesses. But making the decision to forgo brand new clothing is a personal one. Luckily, the "stigma" of shopping secondhand has been diminishing over the years.

So in an effort to further diminish that stigma, I'm happy to share with you my recent used clothing purchases.

ThredUp.com -- I needed to add some better basics to my work wardrobe and spent about $104.00 total for all of the following:

1. Ann Taylor Loft Brocade Pants -- NEW WITH TAGS (NWT) - love them, they aren't tapered on the bottom, I'm just a terrible photographer. The second pic is to show the color and detail.


2. Banana Republic Straight Skirt (NWT) - Perfect for work. Love this skirt.


3. J Crew skirt - (Used) My new FAVORITE skirt. The other day when I wore this a woman came up to me and said "You look exquisite." I haven't taken it off since.) It's cream with light blue and gold pattern - I know it's hard to tell hopefully the second picture helps.

4. J Crew (NWT) blue top, thinking this will be great for work.


 5. Ann Taylor (NWT) green top with gold neckline accent. Tailored this already -- it was too big so I sewed a single seam up the back, taking it in an inch. Wore this for Christmas with the brocade pants above.


6. JCrew (used) - And finally, a casual top the reminds me of one I permanently borrowed (read: stole) from a dear friend in Baltimore back in the day. Loved it then, love it now.

These items, combined with the staples already in my wardrobe allowed me to spruce up my work clothes options for not a lot of money. I also hit the local thrift store yesterday and about 2 items from the $1.00 rack -- those will be refashion projects that I'll share when I tackle them.

I will try to stay more active this year with more refashions, and if you have ideas or questions about how you can do it -- even if you can't sew - let me know!

Saturday, July 2, 2016

Worn Out T-Shirt to Halter Top

There are many tutorials out on the interwebs about turning a regular t-shirt into a halter top. It's easy and quick.

I started with this worn out tshirt that Charles was going to throw out. NOTE: THROW IT OUT? Excuse me, but I bought this for him in Hawaii when we first started dating. Has he no sense of nostalgia? I saved it from the garbage bin and put it in my "projects" box in the sewing room.


I don't remember which tutorial I followed but there are lots of them out there. It's good to use chalk to mark your cut lines. And know that once you cut, this is what the back is going to look like. Yikes.


I needed to put seam up the back to pull that together. (Yes, my dress form wears a slip, don't ask...)


The seam in the back helped make the front hang smoother as well. All set for the beach.

From maxi dress to fun summer top

I popped into a consignment shop that was new to me and discovered this dress for more than I would normally spend (about $21) but I figured I'd get a cute summer top and a skirt for it. And I could probably do something with the mammoth sleeves as well.


 The first thing I did was get rid of the sleeves, but kept the round yellow neck-line. I love round necklines. (I take terrible photos, sorry.)


 Then I stitched all around to make sure there were no raw edges from cutting.


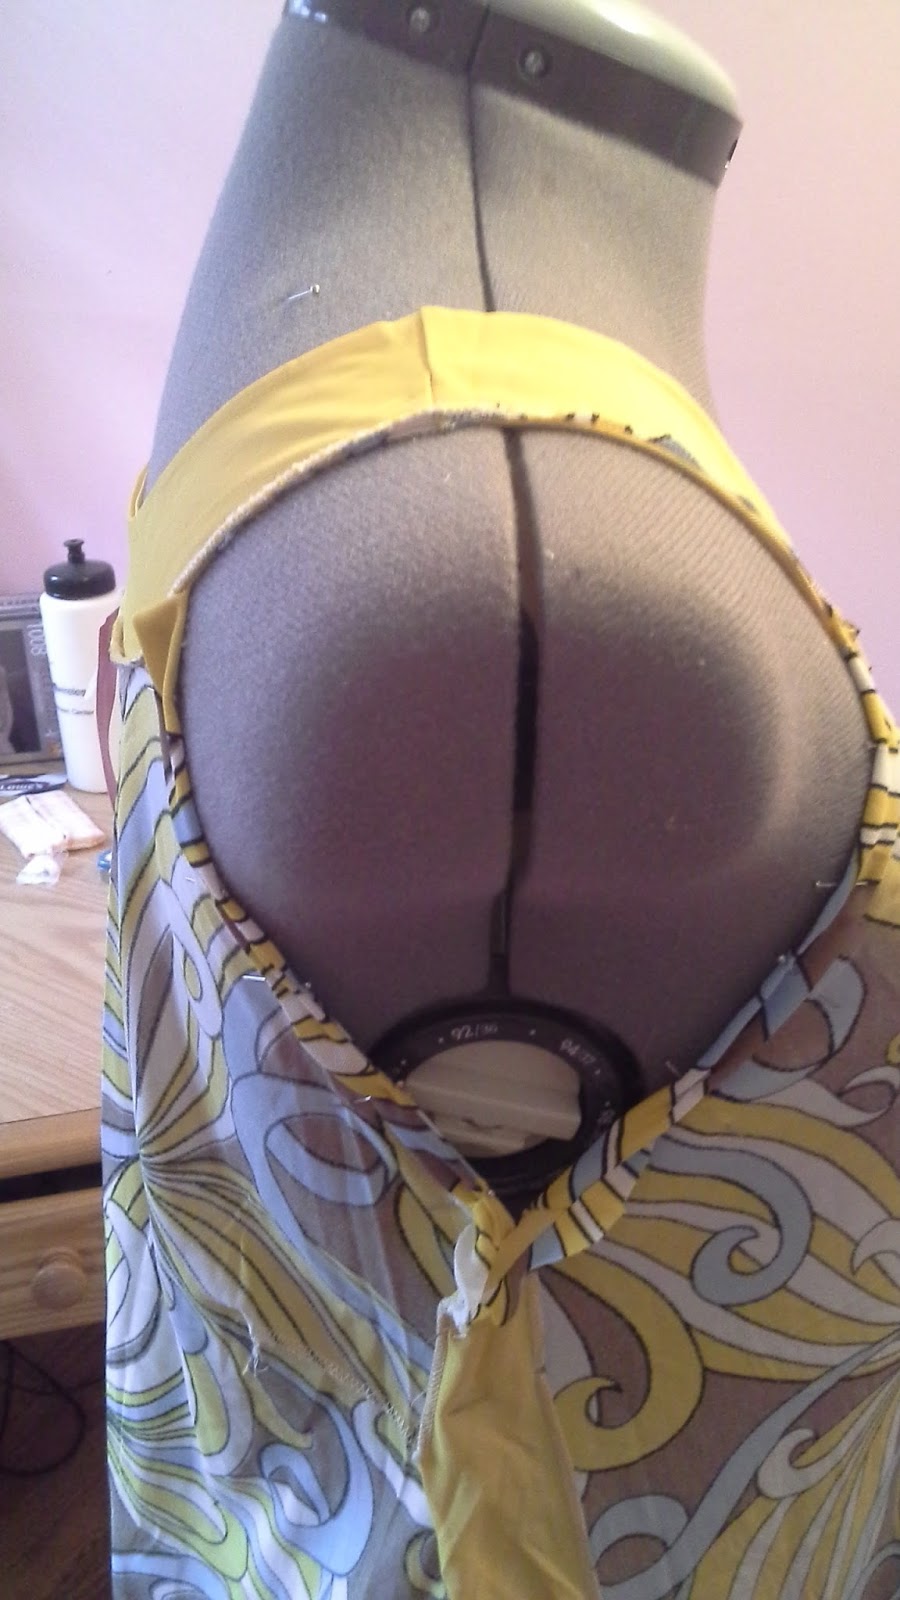
 Next, I pinned the sides and sewed up to make it fit me better and close up the arm hole a bit. No one wants side boob.


 I could have been more careful with the next part -- where I chopped off the bottom half of the dress. In this picture, I've already cut out the bottom yellow hem, which I needed to finish off the bottom hem of my new shirt. I plan to use this piece to make a simple summer skirt.

So, I took the bottom piece and sewed it to the top. You need to put both pieces right sides together and sew it. I didn't get pics, sorry about that. But here it is inside out after I sewed it.

And here is the finished product. I actually work this to work yesterday with some black ankle-length pants and did get some compliments, so I'd say it was a success.


BEFORE AND AFTER


Friday, February 5, 2016

My First Free-Hand Embroidery Project

Back in November 2014, my husband and I spent a month in Hilton Head. While there, I picked up a small embroidery kit from the craft store. I loved it. I ordered another one from Amazon. And then a book. And then we traveled to South America and I stopped embroidering for a while. But, I'm picking it back up.

I bought a couple of grey flannel (felt?) clutch bags on sale at Joann Fabric ($5) and some fun, sparkly yarn. I figured I could make a couple of gifts for my nieces. Here's the one I managed to finish (note, this was meant to be a Christmas present, and is now a February birthday present.) Finishing projects is not my strong-suit.

 It's hard to see, but this stitch has a bit of weight to it. I first spelled her name using gray yarn using a backstitch. I then used my sparkly pink/purple yard and a tiny satin stitch to go over that, so the name is actually a bit raised off the bag. The flower is just a glued-on notion I also got on sale. It has a bit of bling which I love.


On the flip side, I was inspired by a design in my embroidery book.  If I weren't lazy, I'd get up and take a picture of the page in the book. (To the Google...scroll to bottom of this page for the idea.)


I honestly think it looks better in person. My photography and lighting skills are terrible. But you get the idea.

So - with all this stitching, the inside of the back was pretty ugly. I know that people who do embroidery and cross-stitch well probably have "back sides" that look good. I don't. I used some fusible interfacing to line the inside of the bag to cover the stitches inside the bag.


We'll slip in a gift card for some store-bought (EEK!) accessories, and there you go -- a pre-teen birthday gift!

Sunday, November 1, 2015

Pinterest-inspired Pillow

This isn't a refasion, but I actually made something I pinned on Pinterest.  This felt applique pin was the inspiration:


I happen to have some soft fleecy off-white material, and a tin of beads, sequins and notions from long-forgotten craft projects. I picked up a package of assorted color felt (about $4) and dove in.

Mine isn't as ornate, but I like it. It will probably become a Christmas gift for my niece.


Sunday, July 19, 2015

Closed-Toe to Open-Toe Shoe Refashion

I've been away for a while -- literally, I took a year off from work to travel in Asia and South America. But now I'm back and thrifty as ever.

I got this idea from Pinterest (of course) -- and think it turned out pretty okay. So if you've been thinking about doing a shoe refashion, don't fear cutting off the toes to open up those shoes for summer.

A basic pair of loafers with heel. My standard shoe choice. 


You can see the scuffs on the heels

I got to cutting using this thing -- a box cutter? And scissors. 


One down, pretty easy. 


For this step, you can see my first post on shoe refashions. Basically, I use newspaper to trace a pattern of my shoe, then transfer that to fabric. 


Taking care of that heel. This is more of a mauve than the pink it looks in these photos. 


I had to switch to another bottle -- it took a lot of coats to cover the black heel. I should have use a different method. 


I think they turned out pretty cute. 


Add caption


Before
After