Sunday, April 7, 2013

Hello 80's, Welcome to 2013

I snagged this hot item for $3.50 a couple of weeks ago. It's a total 80's wrap dress. I'm not big on collars, but every now and then I'll try it out.Obviously, I wasn't intending on wearing this dress as-is.

Hello 80's, I've missed you.


Check it out all buttoned up -- dig the high collar.


First, I put it on the dress form inside out, and pinned it up to take it in a bit. It only needed to be taken in above the waist. I also cut off the sleeves but did it so that I wouldn't have to sew these -- I cut close enough to the original seam.

Taking in the sides


Sleeves cut close to the seam, so no re-sewing needed.

I also took off several inches from the bottom. I just eye-ball this step, so there is no picture. Also, I'm embarrassed to admit this, I had to give myself a little more breathing room by moving the wrap buttons about an inch. All I had to do was snip them off and resew them into place by hand. And ta-da, and updated dress that I can wear to work.


BEFORE

AFTER


Saturday, January 5, 2013

15 Minute Refashion.

Yeah, I know, this has been done and done and done. But I can't help myself -- it's the easiest refashion and I love summer dresses. This one will be going with me to the Caribbean in February.
Start with a skirt that's too big for you.
All this refashion consists of is hiking up an elastic waist skirt over your chest and belting it. You could leave it at that.

Maxi dress. Just add a belt.


But I wanted it shorter.
About 4 inches shorter.
And I wanted straps. I used the piece I cut off from the bottom to create a strap. Fold it in half length wise, right sides face, and sew it up making a tube. Then, turn the tube right side out.

Action shot!

 Thought about making the straps slightly wide-set.

But went with basic halter-style.
Pin, pin, pin. Sew, sew, sew.

All sewn in place.
I'll use the remaining cut off fabric as a sash. But what I Really Want is a slim red belt to go with this.


Finished. 15 minute refashion.


Definitely needs a red belt.


A Basic T-Shirt Refashion

So, this time I'm starting with a new t-shirt (eeeek, what about the year of nothing new?? I cheated.) But, it was really cute, and the price? About a dollar after discounts and coupons.
$28.00?? I don't think so.
It's a size 3x, which is too big for me, but t-shirts are so easy to take in. I was imagining I could use this as a bathing suit cover-up for my vacation in February (for which I have a pile of refashions waiting.)
To big, but cute print!
Unfortunately, I forgot to take pictures of the taking it in process. Basically, I put it back on the dress form inside out and used pins to outline new seams on each side. Then, I ran that through the sewing machine and done - a better fitting t-shirt. Of course, I cut out the excess material the new seams left me and I wondered if I could do something with that fabric to add a little flair to the shirt.

Adding flair.
 I pinned one of those excess pieces around the existing neckline -- pin it on the inside so it sort of folds over to the outside. Ran that through the sewing machine and done. A cuter t-shirt.


 I might take the sleeves off to make it a tank top. We'll see.

Sunday, November 4, 2012

Why Yes, I AM Wearing a Curtain

Today, I'm still somewhat homebound because of Hurricane Sandy, so I did another refashion. I actually did 2 but didn't take any "before" pics of the first one and it's ugly anyway, so onto this one.

I bought this brocade curtain at Unique (in Union) a couple of months ago because I LOVE the fabric. I really want to make a short skirt with it, and wear it with tights, but I don't know what color tights or top would go with it. I'll work on that another day. 


Instead, I started draping it on my dress form. A dress? Nowhere to wear it. A top? Only if it's easy. So a simple strapless top it is.


A dress?
A top with straps? Eh, those are too wide.
 

I had some problems making it though. I wanted it to lay front across my chest ie: I didn't want to use elastic all the way around it 'cause then the fat near my armpits would moosh over the top - ladies, you know what I'm talking about.

I thought about doing a zipper in the back, but my measurements would need to be precise, and I'm not about precision. Snaps? No, one deep breath and I could see them busting open.

So, I went with 2 small pieces of elastic. Eh, mixed results. It gave me the flexibility I needed to get it on and off, but I would have liked the top to be a bit tighter. But hey, it fits and I can wear out with the girls next weekend in New Orleans!


With a low sash?

Or a high sash that ties in the back?


Or no sash...


I went with low sash tied in the front. If I actually had my hair brushed and some makeup on, I could go out right now!


Thursday, October 11, 2012

T-Shirt to Shrug

I'm too lazy to put it on.

Tonight I finally made a t-shirt shrug. I have been holding onto this t-shirt since...well, let's just say this shirt traveled with me through Central America and across the US during our "career break" which means it has spent a lot of time in a back pack. I was sick of it. I threw it in the "refashion" pile (which is a real thing - want to see pics?) and waited...

Tonight I finally went back to my Pinterest board to find the inspiration and did it.

Let me tell you how easy this refashion is...it took me all of 20  minutes. And it would have been even easier had I not kept stopping to take sips of my martini. (Rough day at work, don't judge.) So for you folks who sew sober, this should only take about 15 minutes. Nice.

Grab a t-shirt and cut it up the front center and cut out the neckline. Doesn't matter if it's v-neck or crew. Mine even had a nice stain on the front. You really can't sweat the small stuff here.

After cutting, pin a hem (with the rough edge on the inside, seriously I actually did this wrong the first time) about an inch wide all around the cut edge. You are now making a case for the ribbon you'll use to tie it together in the front. Once pinned, sew it up all around.
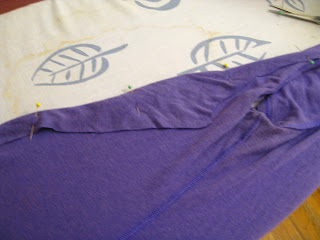
Pin, pin, pin. 

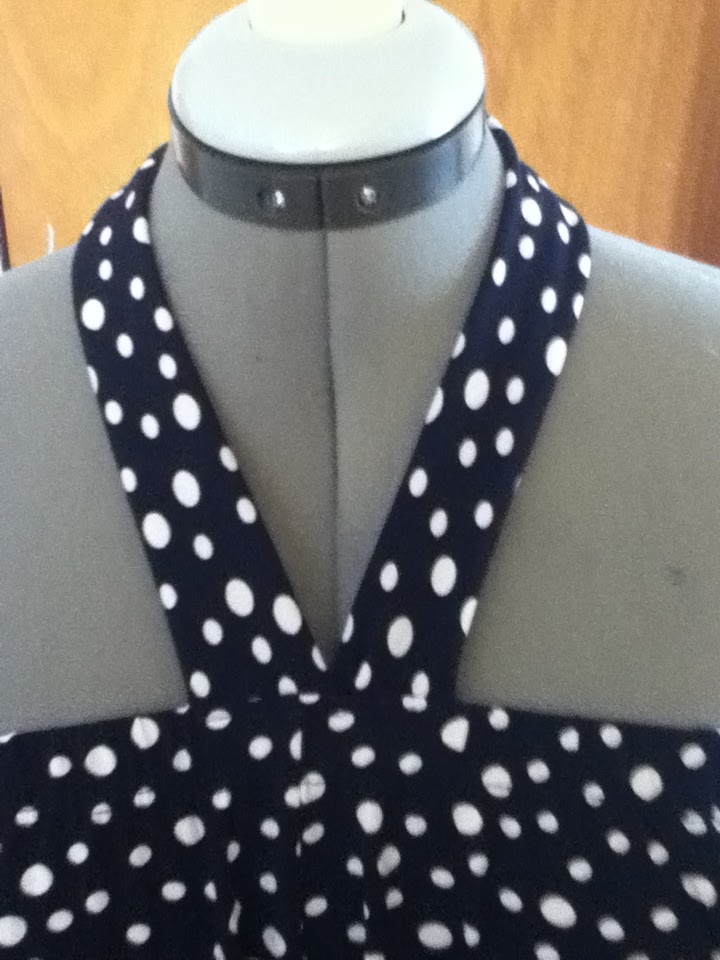
 Once you sew a casing, thread a ribbon through the casing and tie in front. I tied a ribbon to a large bobby pin and pushed that through. Use a safety pin, or whatever works for you.

I don't think my ribbon was long enough. It got all the way through with barely enough to make a bow. I wish I could tell you how to measure, but my ribbon was at least 2 feet long, and I wish it was longer. Next time, I'll measure.

Uh, cute or what?

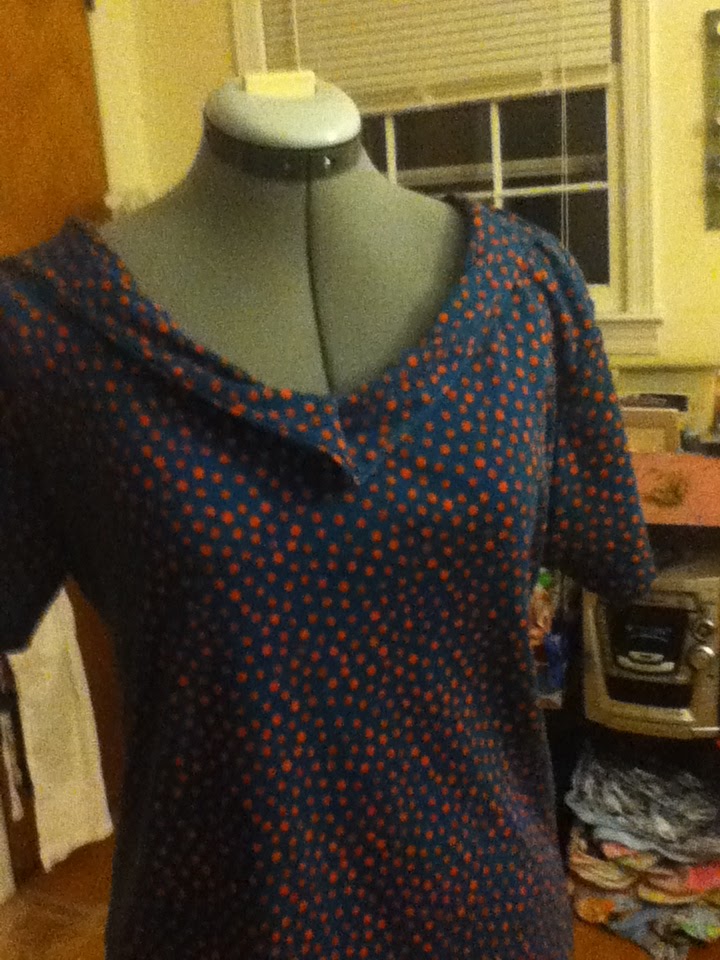
Then I realized, I wanted a purple cardigan to wear with this refashion -- but I'm not going to buy a new sweater. I can wear this t-shirt shrug with it. Ta-da!

Refashion, meet Refashion. I'm sure you'll get along just fine.


80's Fab to Now Wow (ha)

When I bought this dress at the thrift store, it was a stretch. The fabric is pretty bad, it's sort of slippery in a plastic way; the shoulder pads were overwhelming, and I wasn't even sure it would fit overall. But guess what? I liked the pattern (yeah, that's a theme with me.)

Nice sleeves. And neck.


So - I brought it home and threw it on my dress form to consider the possibilities. First things first - those sleeves had to go. Not to mention the neck.

That's much better. 

Next - pin up those jagged edges and sew in a hem. Easy peasy.

Then I wanted to do something about that rounded neckline - just to play around I tucked it in and sewed in an asymmetrical neckline.

Pinning the neckline and sleeves. 

I think it came out okay - not great, just okay.

Next up, loose some of the  length, add a sash and done. New updated dress to wear to work! I don't know, not bad for $9.00.

Ready for the office.


Sunday, September 9, 2012

From "Meh" to "Fun!"

I gotta say, I dig this one. I actually bought this dress about 2 months ago - because of course I loved the colors. It buttons up the front and has a collar -- I'm not really keen on collars, but I was willing to give it a shot.

When I first got it home and put it on my dress form, I thought there wasn't much I could do to it. Maybe shorten it a bit, but that's it. So I put it away and pretty much forgot about. Here it is at the end of summer and I finally took it back out yesterday to give it another look-see.

As it turns out, yesterday I was messing around with some no-sew DIY halter tutorials from Wobisobi. Although the tute was really easy, mine didn't come out right -- but I'll try again because it was still really cute. So with halter on the brain, I turned to my dress and thought - that's it!


And here's how it went... 

Here's it is as purchased ($7.00 btw). Nice print, blah shape.

And from the back - this is where the magic happens on this one.

First, I cut out from under the arm and around the neck, leaving the collar and the fabric under the collar in tact.

This made the back very loose - I have pinned it here and later took that in a few inches.


Then I pinned all around the cut-out part.


All pinned.


All sewn up. In this pic, I have already sewn in the back seam to tighten up the dress. 


I also took about 6-8 inches (I don't measure) off the bottom and hemmed it. With the fabric from the hem, I made a sash to give the dress some more definition.


I don't like the way my hair/face looks in these pics so you only get a picture of me in the dress from the back. Trust me, you don't want to see me from this front in this -- it was 9AM.


I'm pretty happy with what turned out to be a sassy little dress! I plan to wear this in November in New Orleans on my Girl's Weekend! (Weather permitting.)